How to deploy nest app in railway app in a different port
Deploying in railway app is almost similar for most of the applications. Thanks to nixpacks that auto identifies the kind of build required. Here we are going to look at how to deploy a Nest Js app in a different port.
Step 1: Get the Nest Js app ready
Firstly, you'll need to get the Nest Js app ready and push it to a github repo. If you don't have a Nest app and thinking of just trying it out then you can fork the repo to your github account here
I have already changed the default port to 5788 in src/main.ts
import { NestFactory } from '@nestjs/core';
import { AppModule } from './app.module';

async function bootstrap() {
  const app = await NestFactory.create(AppModule);
  await app.listen(5788);
}
bootstrap();
Step 2: Setup service in railway app
If you are unfamiliar with the Railway app, then first check out my blog post here to get an understanding. Let's set up the Nest project now. Click on the New button and follow the screenshots below
Select the GitHub Repo first.

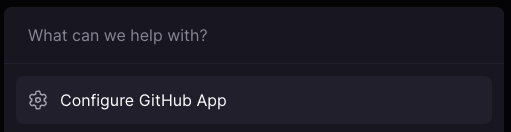
Then Configure the GitHub App.
Once you enter the github credentials, you should be able to see and select the repo that you've just forked or the one that you already have.
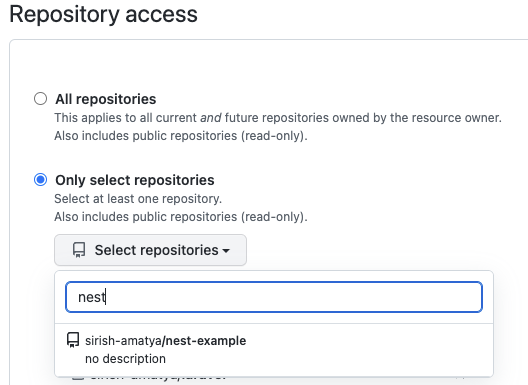
Once you've provided access to Railway for your repo, you would now be able to see the git repo name. If the popup is closed, try hitting the new button again and select Github repo and then your repository from the list. This will then auto build and deploy

Step 3: Generate the domain
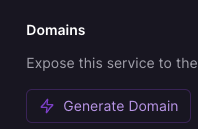
But we don't have a url yet at this stage. So, go to Settings tab and then click on "Generate Domain" under Domains menu.
Step 4: Set the port
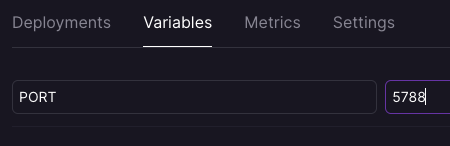
Now go to Variables tab and then set the PORT variable with the port defined in the codebase, 5788 in this case.
Now when you click on the link that's generated in Step 3, you should see your project running. You'll see "Hello World" printed if you've forked the repo in step 1.
For local development, you'll need to clone your NestJs repo to your local.
Try cloning your repo with git clone <your-repo> and change the text "Hello World" in src/app.service.ts to something else and then commit and push it to main. It should auto trigger the deployment and you'll see your change in the previously generate url in no time.
If you want to see how to deploy a laravel app in Railway. Check this out. The process would almost be the same.
Latest Post
Information retrieval – Searching of text using Elasticsearch
Information retrieval is the process of obtaining relevant information resources from the collection of resources relevant to information need.
Learn more